


Most of us clean the parts of the desk we can see. We wipe the screen when it smudges and brush crumbs off the tray, but the two things we touch most often - the keyboard and the mouse - usually wait the longest. They are also the two surfaces where our hands spend the entire workday, carrying in whatever they picked up on the way to the chair.
The good news is that cleaning a keyboard and mouse is not difficult once you know the right order. This guide walks through what actually collects on them, why a quick wipe falls short, and a simple routine that covers the grooves a cloth never reaches.
What Actually Collects on a Keyboard
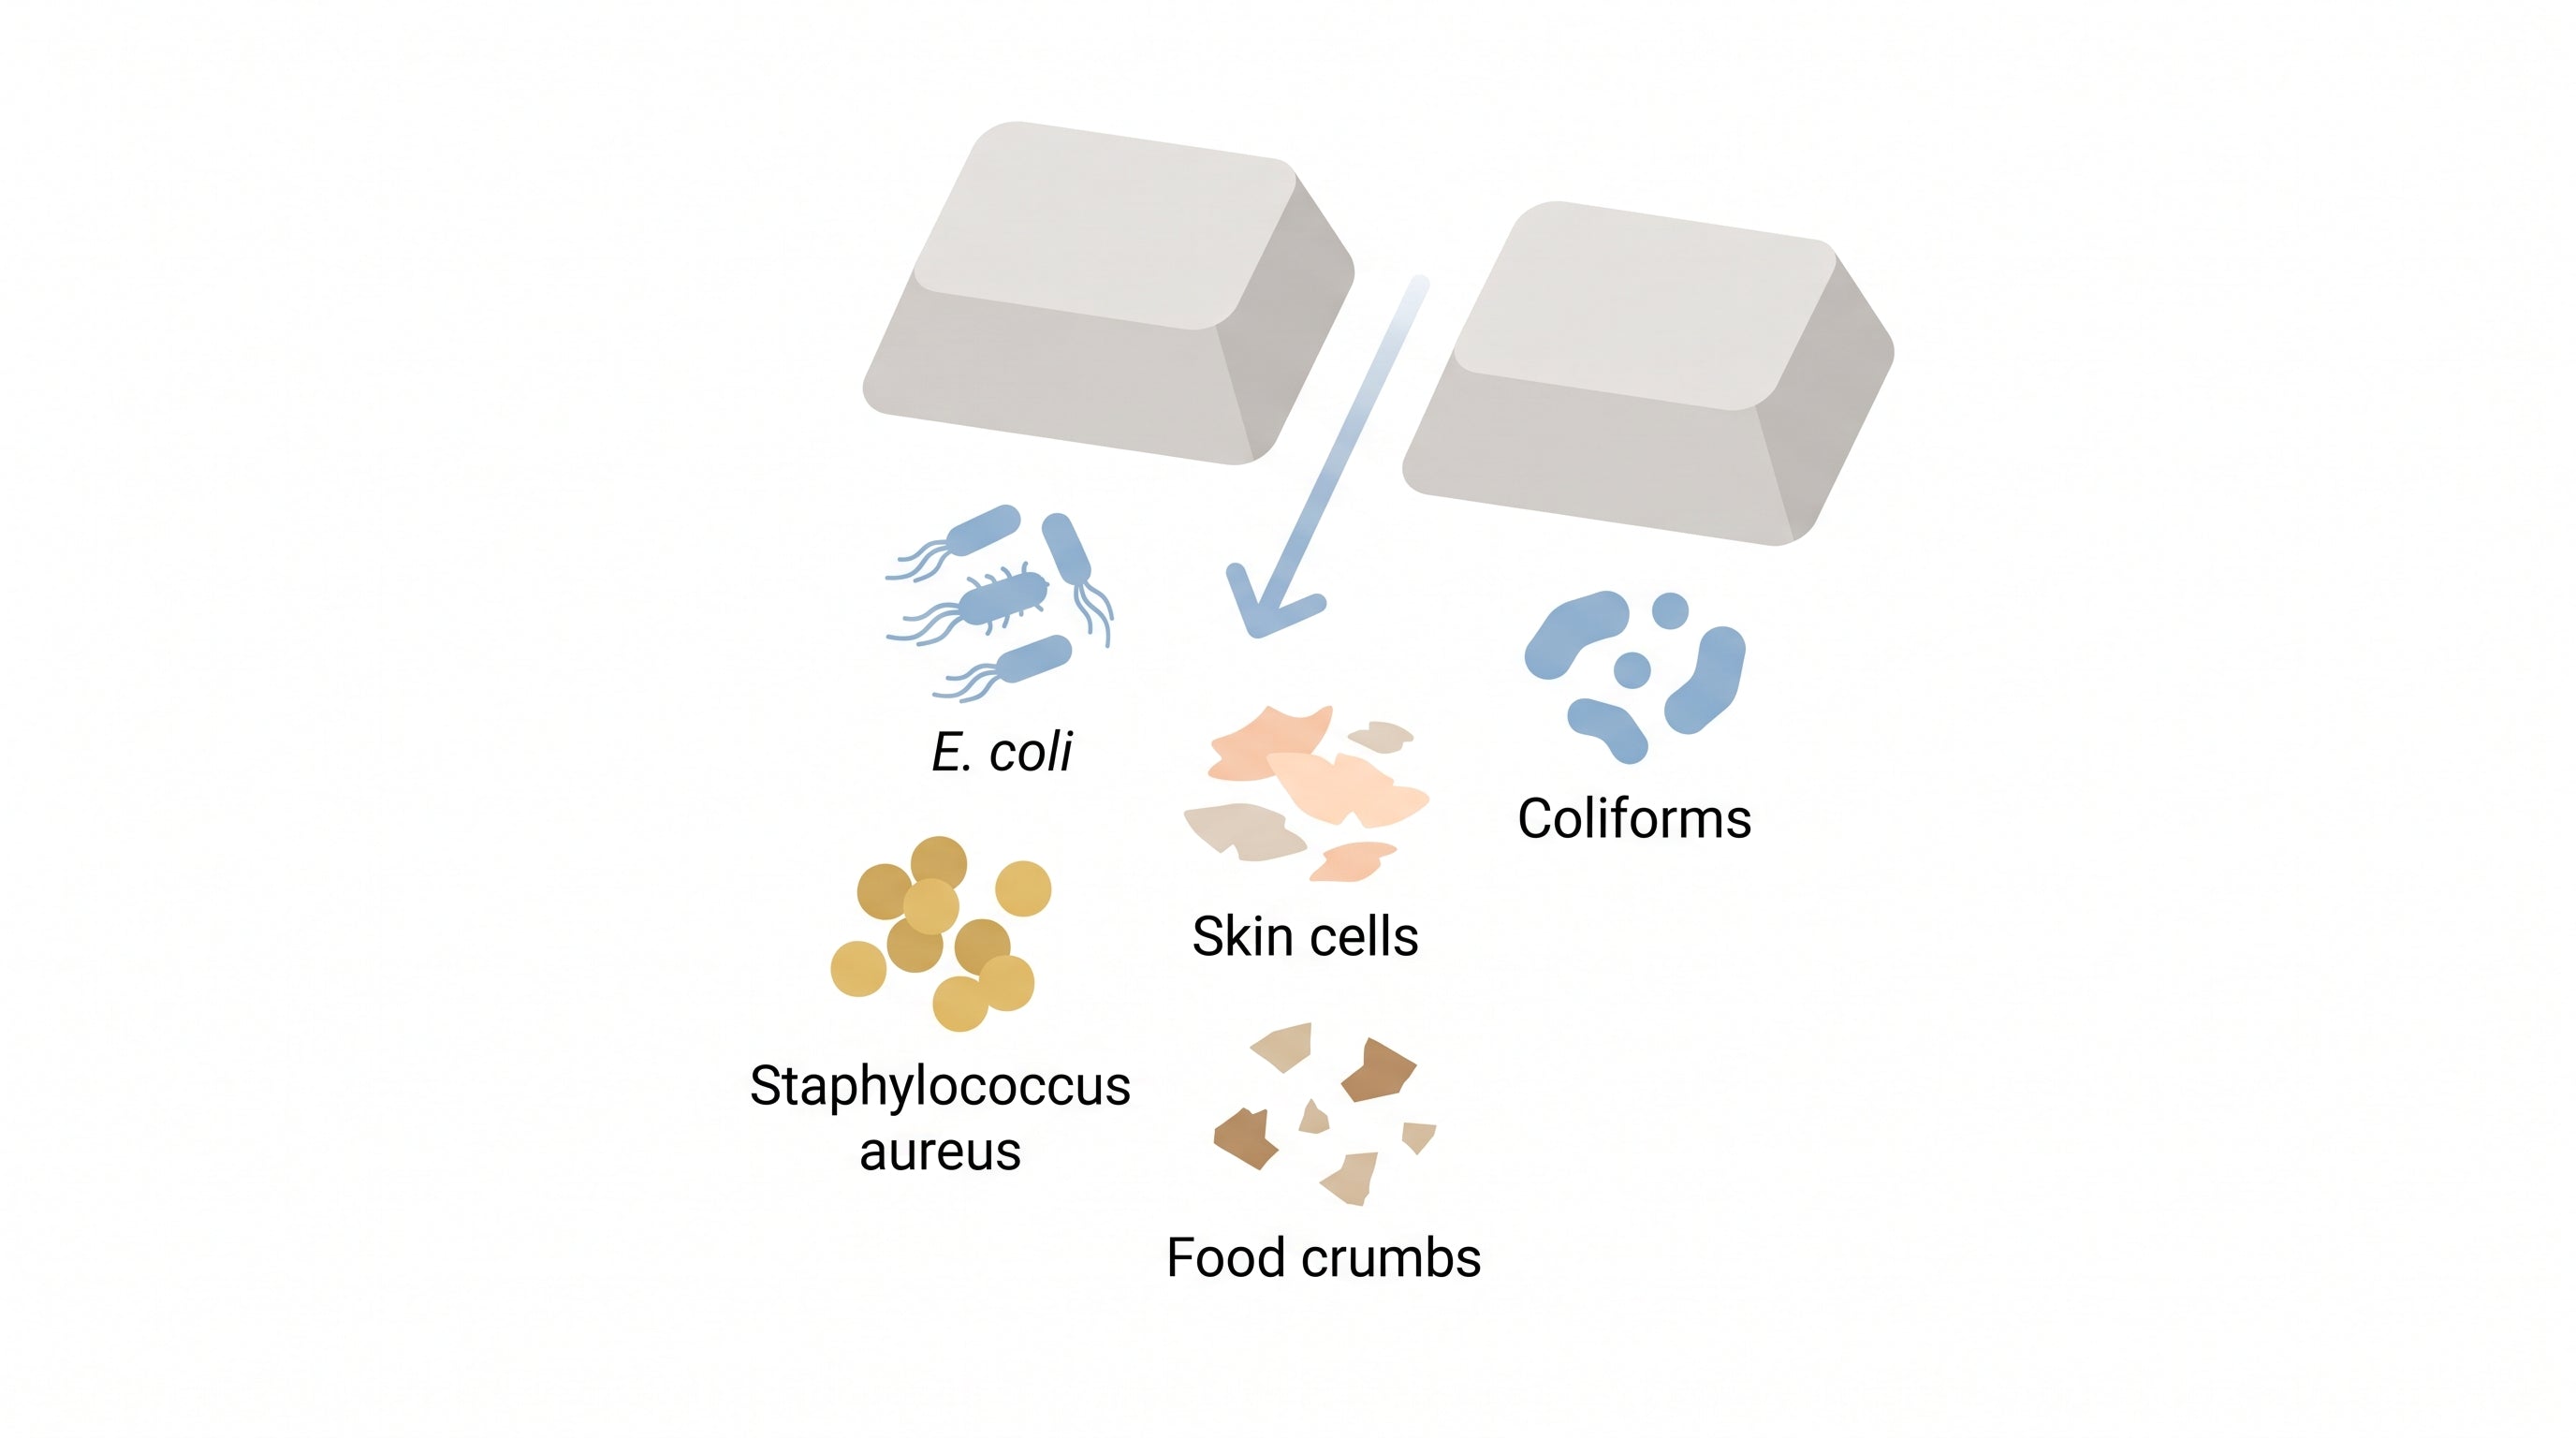
A keyboard is a warm, textured tray for skin cells, food particles, and moisture, and it gets refilled every time you type. Research from the University of Arizona has put the scale in perspective: the average office desktop can carry roughly 400 times more bacteria than the average toilet seat, and the keyboard is one of the surfaces doing the heavy lifting.
In a 2008 study by the UK consumer group Which?, a microbiologist swabbed 30 keyboards in a busy London office. Four of them registered bacteria levels high enough to be called a health hazard, and two showed warning levels of Staphylococcus aureus. One keyboard carried 150 times the recommended limit of bacteria and measured five times dirtier than the office toilet seat sampled the same day.
The microbes that showed up tell a story about how they arrived. Researchers found coliforms and E. coli, which are associated with the gut, alongside Staphylococcus aureus, which lives naturally on skin. In other words, the bacteria on a keyboard come from the same places most desk germs come from: hands that were not washed and food eaten over the keys.
Those microbes do not disappear the moment you stand up. A widely cited analysis from Northwestern Memorial Hospital in Chicago found that two drug-resistant bacteria, VRE and MRSA, could survive on a keyboard for up to 24 hours. That is not a reason to be alarmed. It is a reason to treat the keyboard like the shared, all-day surface it is.
Why a Quick Wipe Falls Short
The instinct is to grab a disinfecting wipe and sweep it across the tops of the keys. That clears the flat surfaces, and it is a fine first step. But a keyboard is mostly edges and gaps. Crumbs settle between the keycaps, oil collects along the seams, and the thin layer of liquid on a wipe rarely reaches down into those spaces. Any moisture left behind can also sit in the gaps long enough to feel damp when you start typing again.
A mouse has the same blind spots in a smaller package. The click seams, the seam around the scroll wheel, and the ring around the sensor on the underside all hold oil from your palm and fingertips. Wiping the top of the mouse leaves those seams untouched.
None of this means wipes are useless. It means a wipe is one step in a sequence, not the whole job.
The Right Order: Dry, Then Damp, Then Dry
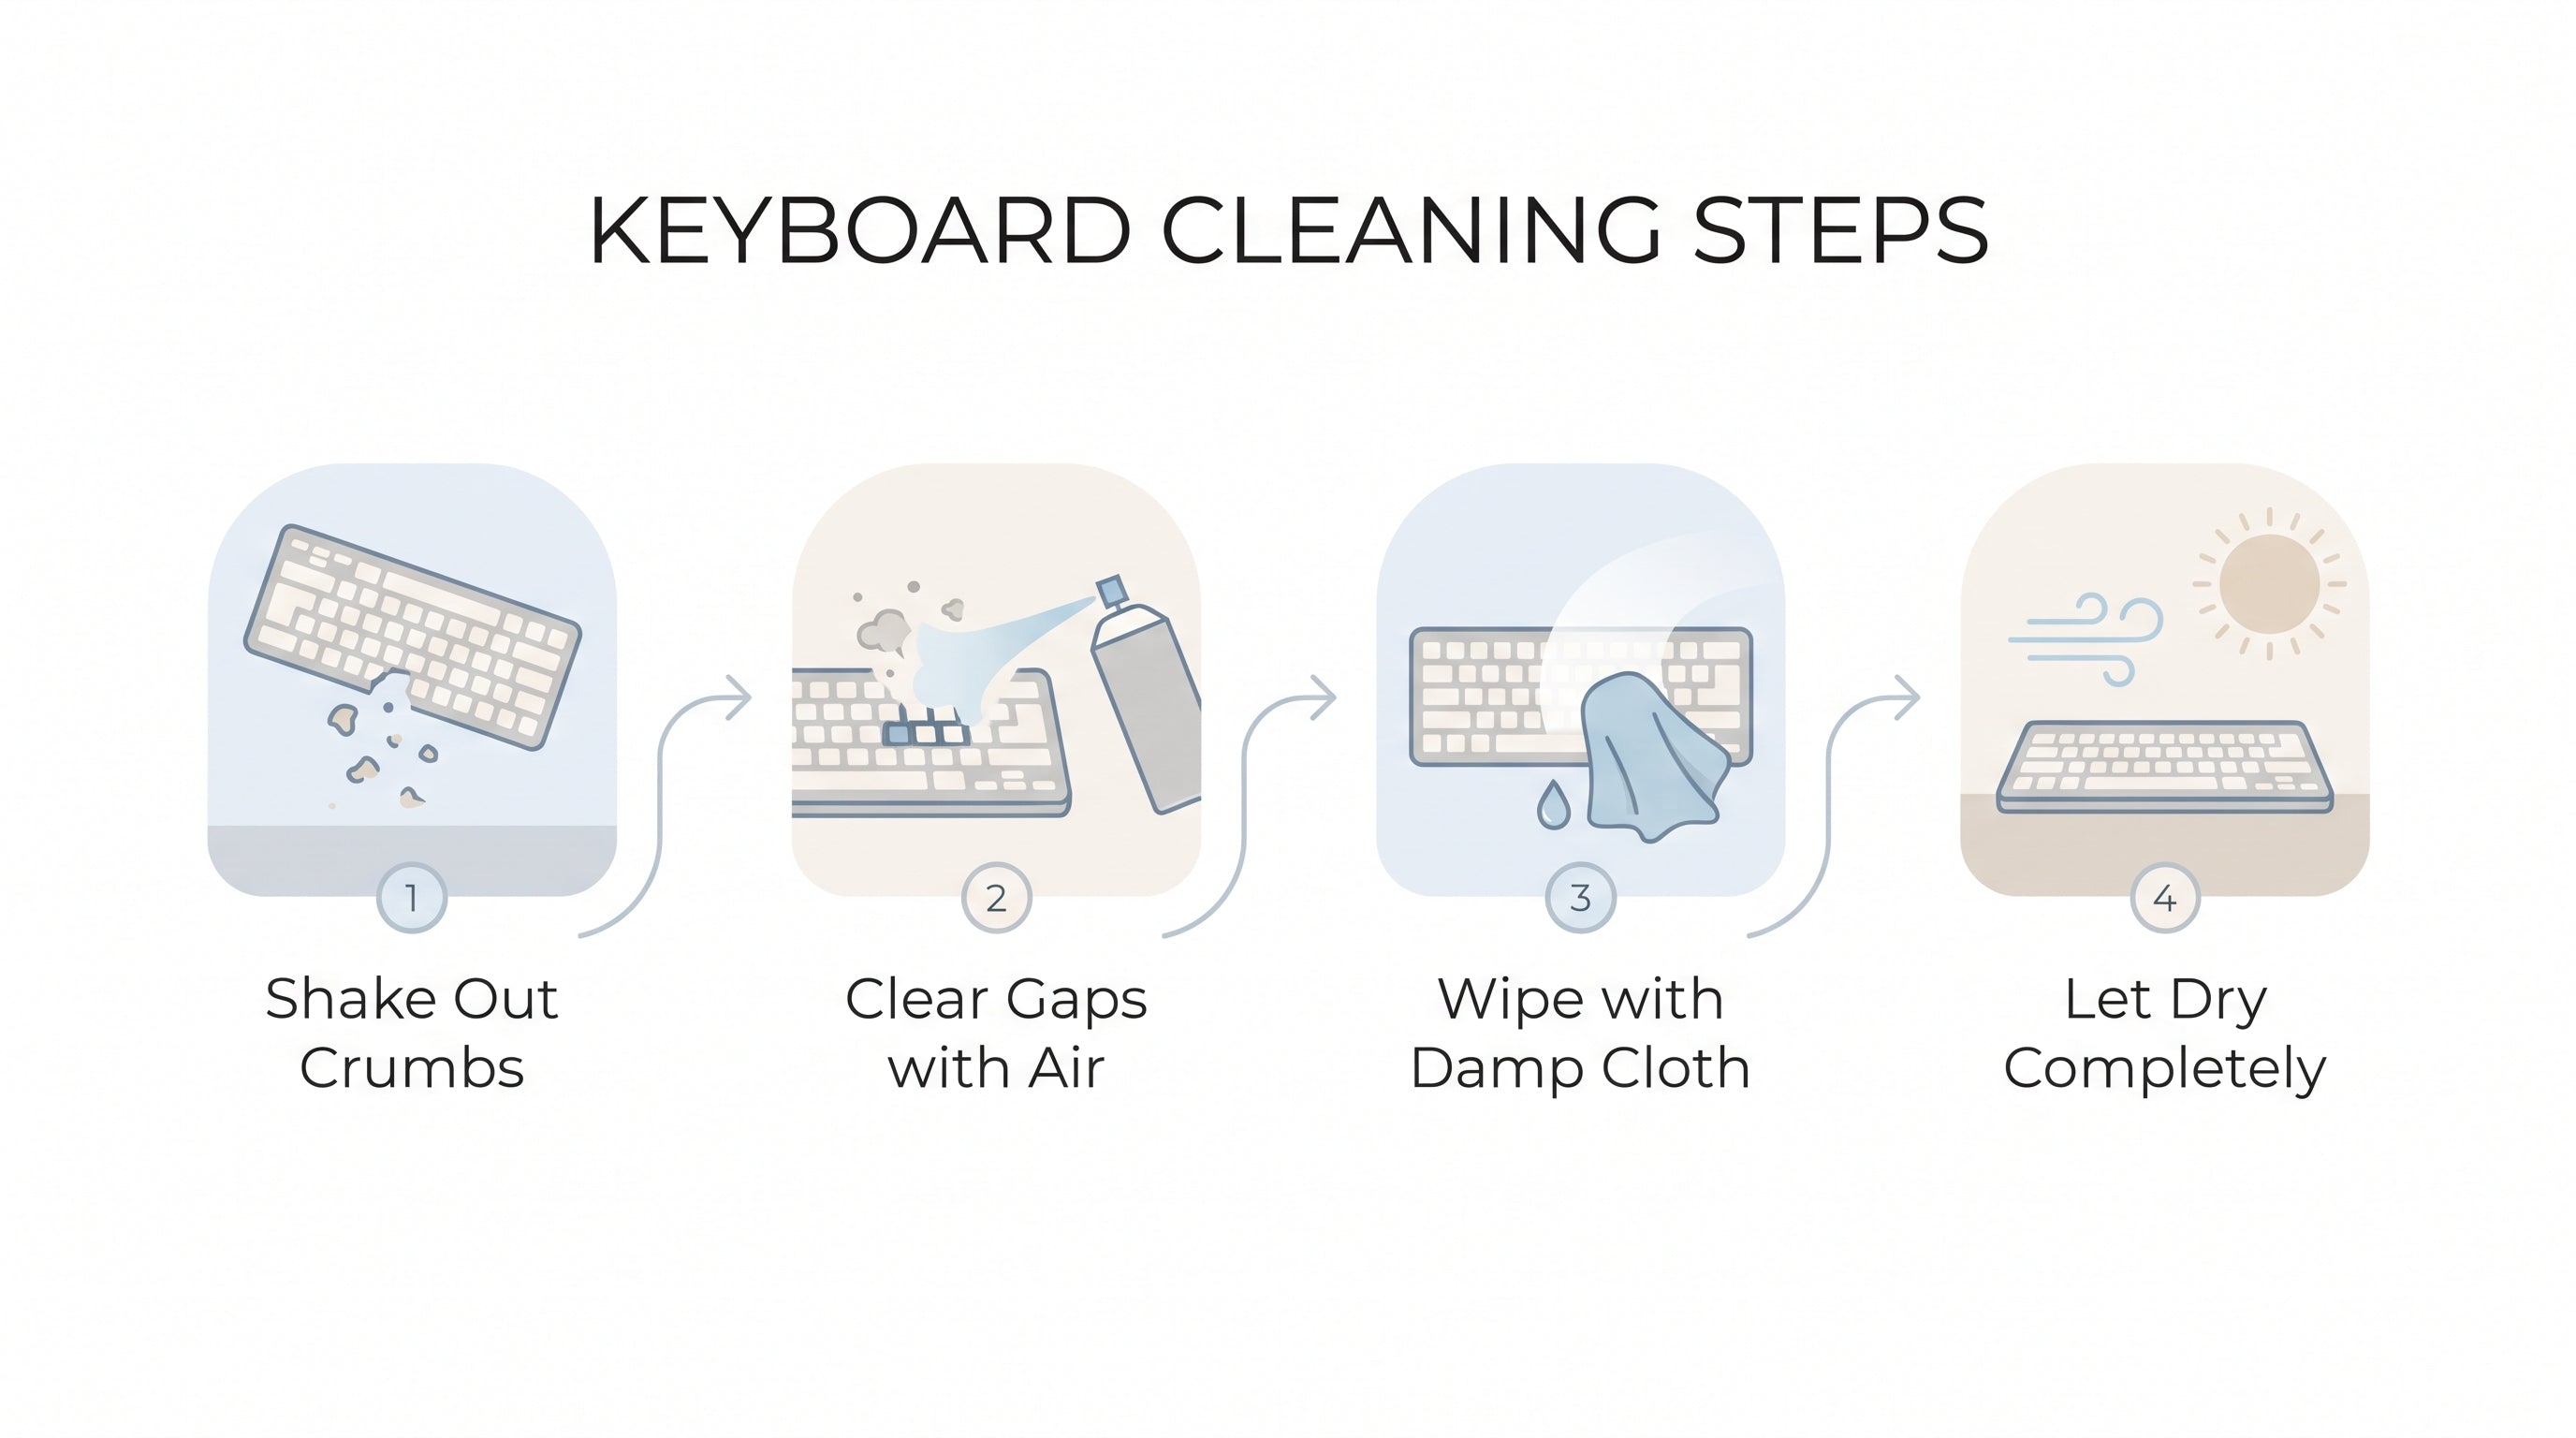
A thorough keyboard clean works best as a short sequence that moves from dry to damp and back to dry:
- Turn it off and unplug it. For a wireless keyboard, remove the batteries. For a laptop, shut it down so a stray key press does not fire off commands.
- Shake it out. Hold the keyboard upside down over a trash can and tap the back gently. More comes out than you expect.
- Clear the grooves with air. Use a can of compressed air or a soft brush to push debris out from between the keys, working from one side to the other.
- Wipe the surfaces. Dampen a microfiber cloth with a little water or a 70 percent isopropyl alcohol solution - damp, never dripping - and wipe the keycaps and frame. Never spray liquid directly onto the keyboard.
- Let it dry completely. Give it a minute or two before you power it back on.
The same order works for a mouse: unplug it, wipe the shell with a lightly damp cloth, then trace the seams, the scroll wheel, and the ring around the sensor with a cotton swab barely dampened with alcohol. Avoid pushing any liquid into the sensor window.
On a laptop, use a lighter hand. Shake gently, use short bursts of air, and keep the cloth on the dry side of damp.
If the gaps between keys still feel like a blind spot after the dry-damp-dry routine, a no-liquid pass of UV-C light is a natural way to finish. See how it works with the UVCeed disinfection device.
Don't Forget the Mouse
The mouse rarely gets the attention the keyboard does, even though your palm is on it all day. Between the buttons, around the wheel, and under the base, the same mixture of oil and dead skin builds up. Run the swab along those seams after every few wipes of the top surface, and wipe the underside around the sensor so dust does not dull the tracking.
If you use a mousepad, treat it as part of the same surface. A fabric pad holds skin oil and moisture, so washing or wiping it down at the same time keeps the mouse from picking grime right back up.
How Often Should You Actually Clean?
There is no perfect number, but a simple rhythm beats a deep clean you never do. A quick wipe of the keycaps and the top of the mouse every couple of days keeps the oil from building up, and a full dry-damp-dry pass once a week handles the gaps. If you eat at your desk, share the keyboard with family, or use a shared workstation, bump both up a notch. The same Which? survey found that 11 percent of people said they never cleaned their keyboard and 20 percent never cleaned their mouse, which is exactly how the grime wins.
Consistency matters more than intensity. Five minutes a week, done on the same day, beats an hour-long scrub that only happens twice a year.
Once the visible grime is gone, the remaining question is the bacteria you cannot see - the microbes a cloth leaves behind in the grooves. UVCeed is built for that last pass. See the UVCeed disinfection device.
A No-Liquid Pass for the Spots You Can't Reach
Ultraviolet-C light works differently from a wipe. UV-C is a band of short-wavelength light that damages the DNA of microbes, forming bonds that stop them from replicating. In lab testing, UVCeed reduced Staphylococcus aureus by 99.9 percent in 15 seconds and E. coli by 99.99 percent in 24 seconds. Because it is a dry, no-liquid process, it does not push moisture into the keyboard the way a damp wipe can.
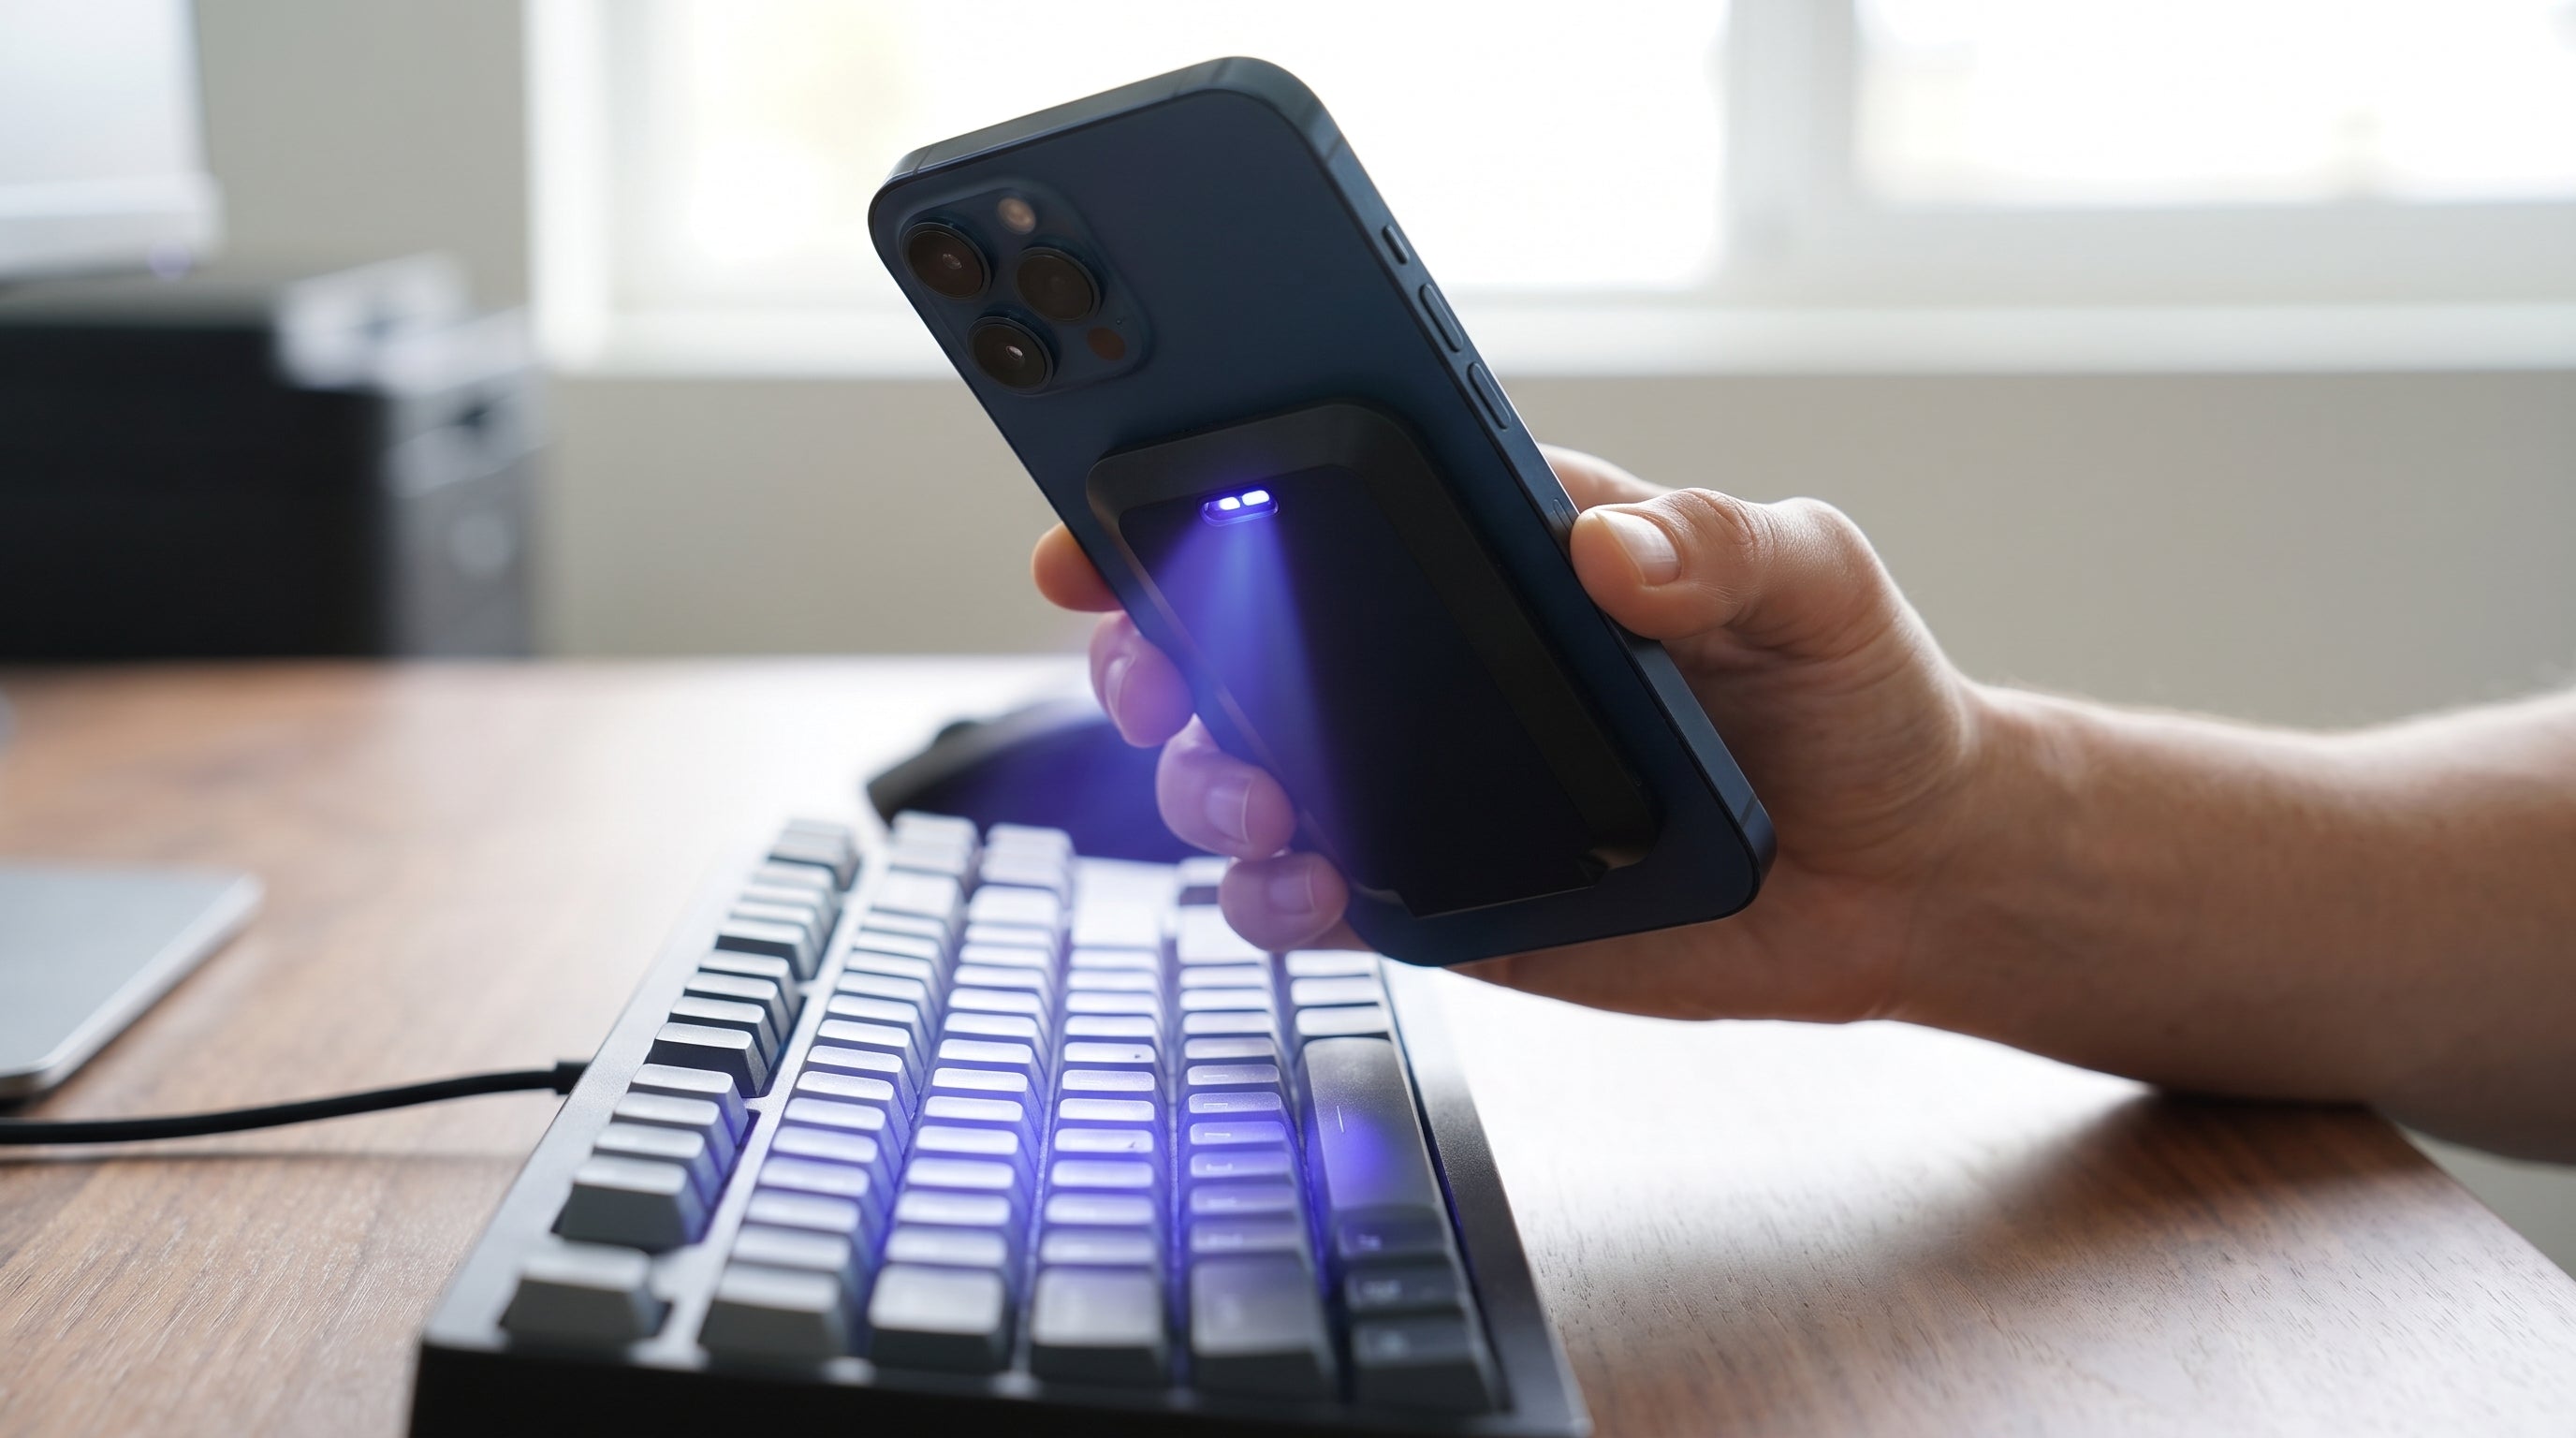
That makes it a sensible finish to the routine above rather than a replacement for it. You still shake out the crumbs and wipe the oil, because UV-C needs a direct line of sight to do its work and works best on a surface that is already clean. Then you run a slow pass over the keys and the mouse, letting the light cover the seams and grooves a cloth could not reach.
The value here is the habit, not any single treatment. A device that sits in a drawer does not help. One that lives next to the keyboard and takes a minute to use is far more likely to get used.
Make It a Friday Habit
Cleaning a keyboard is not a science project. Turn it off, shake it out, clear the gaps, wipe the surfaces, and let it dry. Do the same for the mouse, and finish with a no-liquid pass over the spots you could not reach. Tie it to the same day each week - the end of the workday on Friday works well - and the whole routine takes about five minutes.
The point is not to make your desk sterile. It is to stop the two surfaces you touch most from being the two you clean least.
Want More Articles Like This?
Get research on UV-C treatment and product updates delivered to your inbox.


